
Australia, Canada, Installation guide, Ireland, NZ, UK, USA

The floor under the mat decides how long it lasts

Most stable mat complaints are not about the mat. They are about the surface beneath it — and the preparation that was skipped when the mats went down.

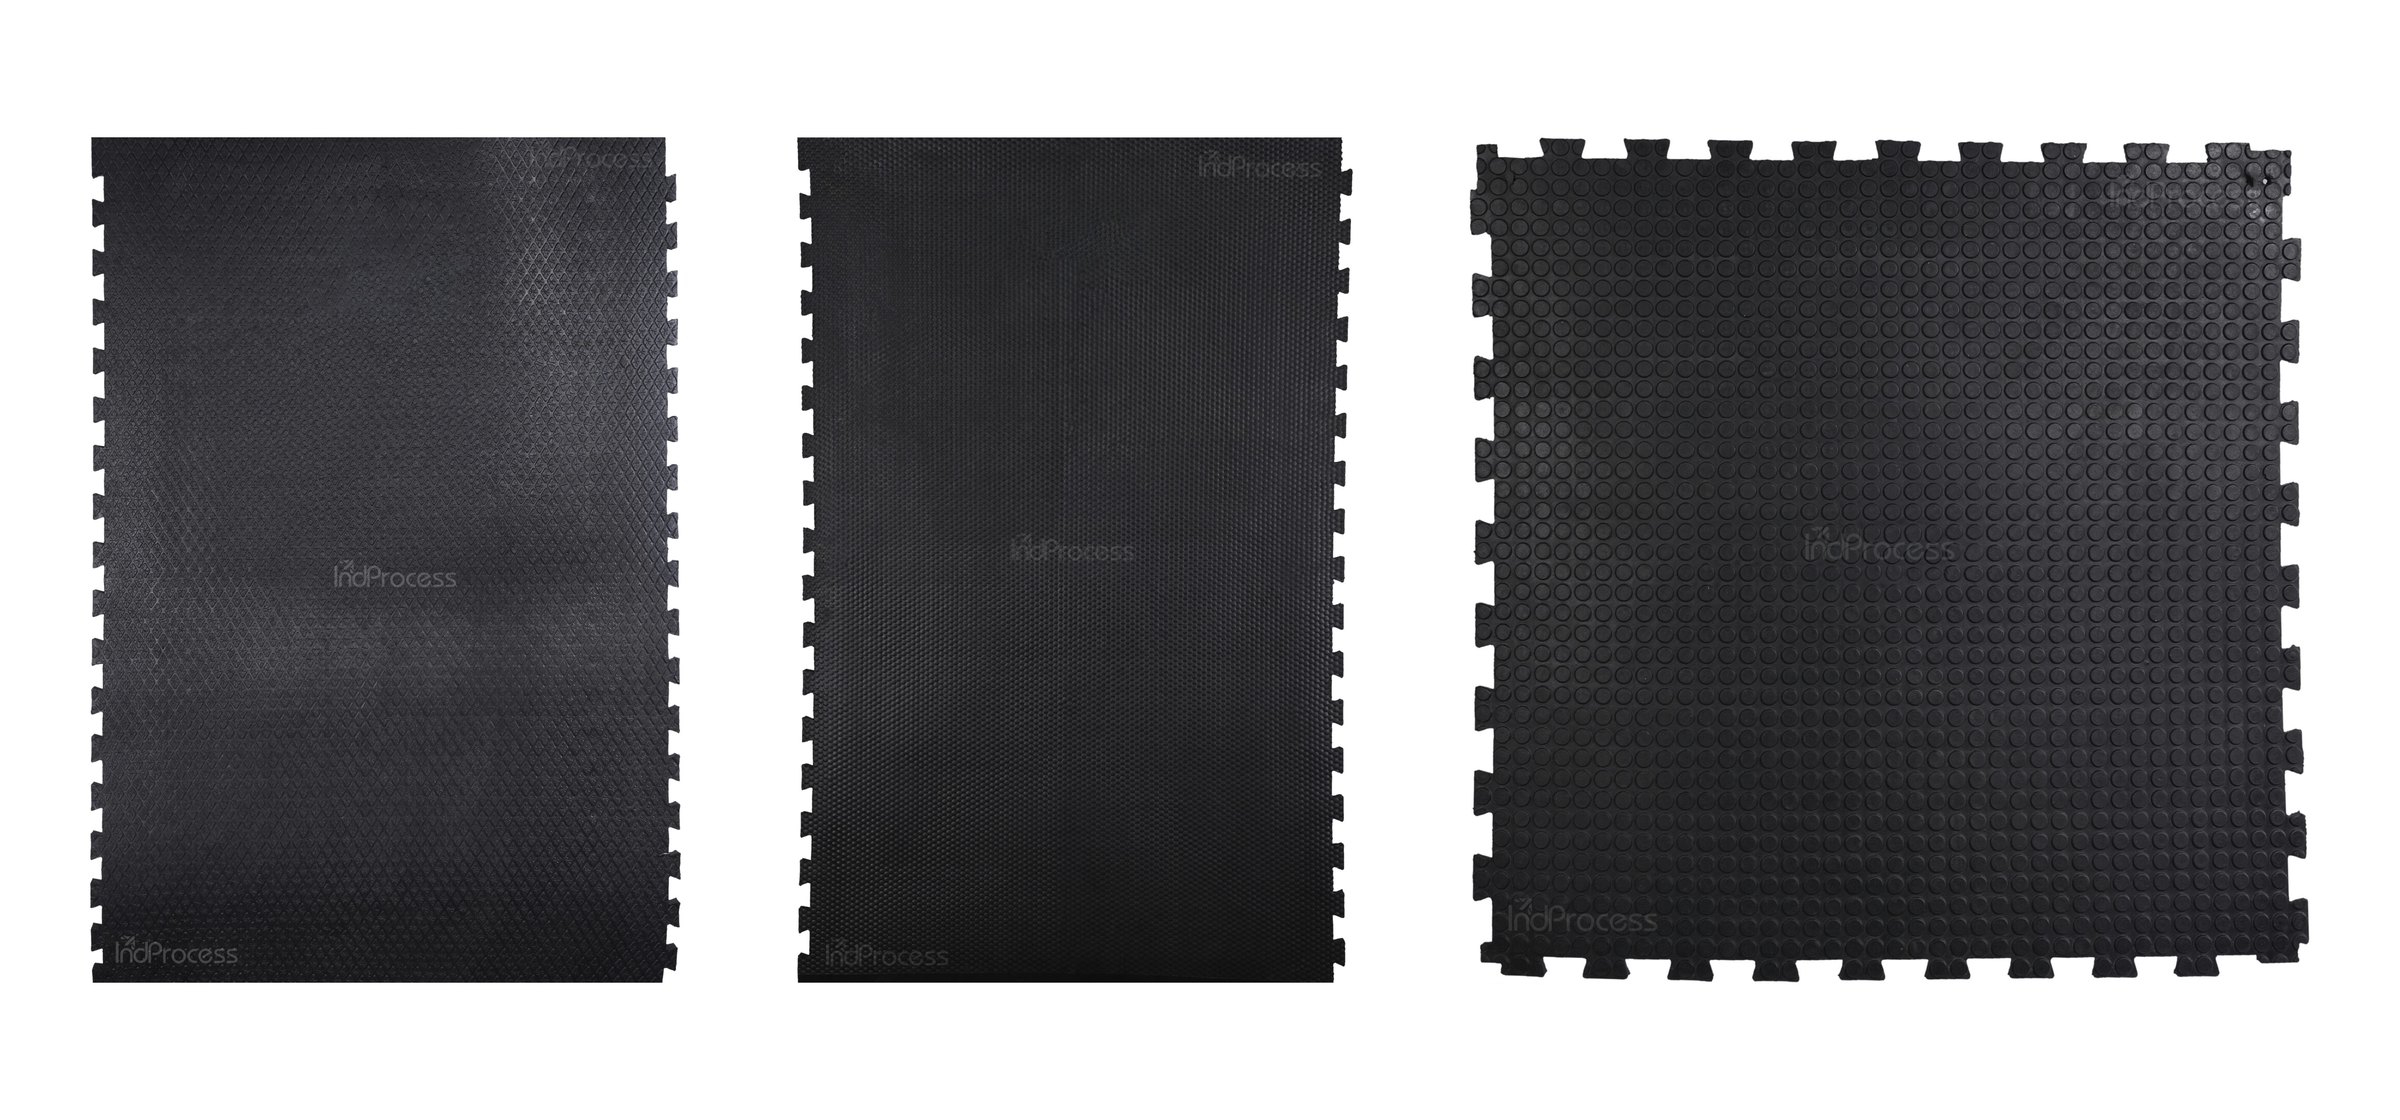
Indprocess interlocking rubber mats: diamond top, hammer top and penny top

Interlocking edges across the range: diamond top, hammer top and penny top mats. Tight joins start with a sound, level floor underneath.

KEY TAKEAWAYS

  • A mat follows the surface beneath it: hollows, ridges and loose material all show through in time.
  • A good base is level, sound, draining and clean before the first mat goes down.
  • Lay from a straight wall, keep joins tight and cut to fit — gaps collect bedding and urine.
  • Lift a few mats once or twice a year to clean underneath and re-seat them.

A stable mat that curls, rocks or slides after a few months is usually blamed on the mat. It is almost never the mat alone. It is the floor underneath it — and the half hour that was saved when the mats went down.

Rubber follows the surface it sits on. Lay a mat on a level, sound, well-drained base and it stays flat for years. Lay the same mat over a hollow, a ridge or a patch of loose hardcore and it will find every one of them, one hoof at a time.

This is a practical guide to the part of the job that happens before the first mat is laid.

The base decides the outcome

A horse puts its full weight through a small area, and it does so repeatedly in the same places — the doorway, the feed corner, the spot where it turns. Any movement in the base is concentrated there.

Where the base is uneven, the mat bridges the gap. Over time it flexes at that point, the edges lift, and the joins open. Once the joins open, bedding and urine collect underneath and the problem accelerates.

Which means the life of a stable mat is largely settled before it is laid. Base preparation is not a preliminary to installation. It is most of it.

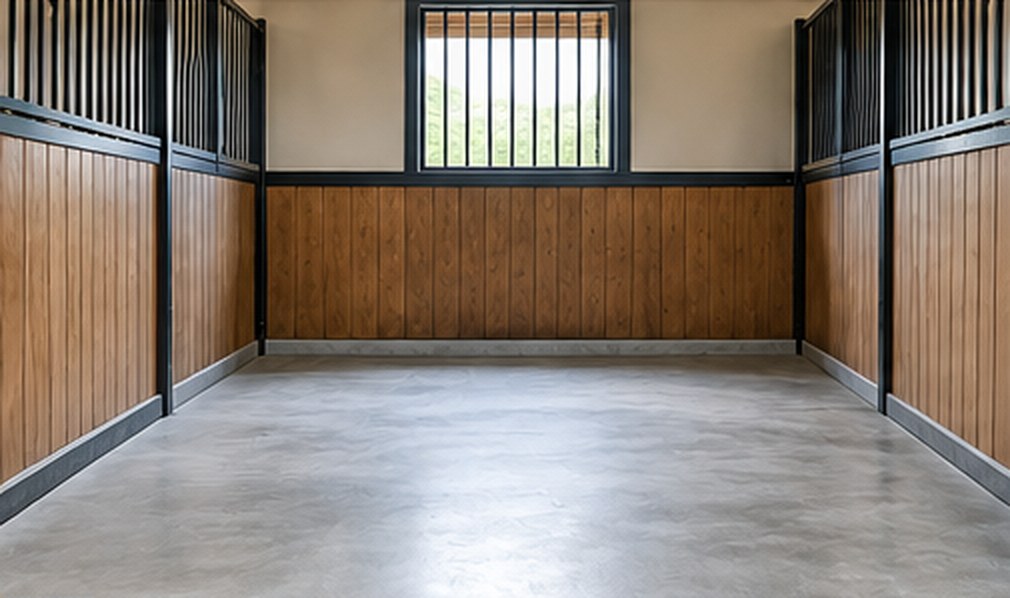
The floor before the mat. Level, sound and draining in the right direction.

What a good base looks like

Level

Not perfectly flat — a slight, even fall towards a drain is normal — but without hollows or ridges. A long straight edge laid across the floor in several directions shows up problems quickly.

Sound

Concrete should be free of breaks and loose sections. Compacted bases of stone or clay should be firm across the whole stable, including the corners, which are easily missed during compaction.

Draining

Liquid should leave the stable, not pool under the mats. Check where water goes before laying, not after the first wet week.

Clean and dry

Old bedding, grit and standing moisture trapped under a new mat will stay there. Sweep, wash and allow the base to dry fully first.

A good mat on a poor floor is a poor floor with a mat on it.

Laying the mats

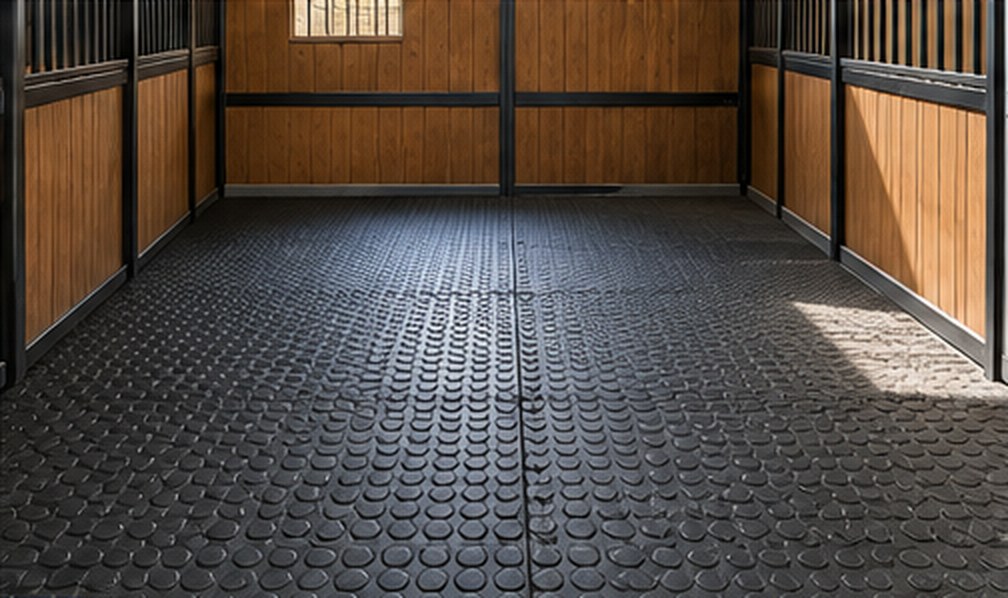
Start from a straight wall and work outward, so that any cutting happens at the edges rather than in the middle of the stable. Push each mat hard against the last one; the joins should be tight enough that bedding cannot fall through.

Cut mats to fit around posts, drains and door frames rather than leaving gaps. A gap along a wall collects waste as surely as a gap between two mats.

Common problems and where they start

Most stable mat complaints trace back to one of four causes beneath the surface.

What the customer sees

Usual cause

What prevents it

Mats rocking or moving

Hollows or loose material in the base

Level and compact the base before laying

Edges lifting or curling

Uneven base, or mats not seated tightly

Straight-edge check; tight joins from a fixed wall

Smell from under the mats

Open joins and poor drainage

Tight joins; check the fall towards the drain

Wet patches beneath

Water pooling on the base

Correct drainage before the mats go down

Keeping it that way

Once or twice a year — ideally before the main stabling season — lift a few mats and look underneath. Clean out anything trapped, check that the joins are still tight, and re-seat any mat that has moved. Ten minutes per stable prevents most of the problems in the table above.

Before the first mat goes down

Seven checks that decide how long the floor will last.

  • Straight-edge the base in several directions.
  • Fill hollows and remove ridges before anything else.
  • Check drainage — water should leave the stable.
  • Clean and dry the base fully.
  • Start from a straight wall and work outward.
  • Keep joins tight so bedding cannot fall through.
  • Cut to fit around posts, drains and doors — no gaps.

Tight joins, cut edges at the walls, nothing for bedding to fall into.

Where this fits

We manufacture rubber equestrian stable mats in Tumakuru, Karnataka, for distributors and retailers in the UK, Ireland, the USA, Canada, Australia and New Zealand. The product is only half of what the end customer experiences; the other half is how it is installed. That is why we encourage our distributors to pass guidance like this on to every customer who buys from them.

Which is not a claim about the mat. It is a claim about the floor — and the floor is what the horse stands on every day.

Frequently asked questions

Usually because the base underneath is uneven or the mats were not seated tightly together. The mat bridges the gap, flexes at that point and the edges lift over time.

Yes, if the base is firmly compacted and level across the whole stable, including the corners. Loose or soft areas will allow mats to rock and move.

Open joins and poor drainage. Liquid and bedding collect in gaps and beneath mats. Tight joins and a correct fall towards the drain prevent most odour problems.

Once or twice a year is a good routine, ideally before the main stabling season. Clean underneath, check the joins and re-seat any mat that has moved.

Products in this article

Diamond top with rib bottom mat

The Diamond Top with Rib Bottom Mat is a durable and versatile rubber mat designed for heavy-duty use. Its diamond-patterned top surface offers excellent slip resistance and enhanced grip, while the ribbed underside provides stability, cushioning, and effective drainage. Ideal for industrial floors, workshops, gyms, and high-traffic areas, this mat ensures safety, comfort, and long-lasting performance.
Diamond top with stud bottom mat

The Diamond Top with Stud Bottom Mat features a rugged diamond-patterned surface for superior traction and slip resistance, paired with a studded underside that enhances grip, cushioning, and airflow. Designed for durability and comfort, it is ideal for industrial, commercial, and high-traffic environments where safety and performance are essential.

Supporting your customers

If you are a distributor or retailer and would like installation guidance to pass on to your customers, contact us. We will share what we have and adapt it to your market.

Indprocess Innovations Pvt. Ltd. · ISO 9001:2015 certified (Reg. No. RQ91/1154) manufacturer of rubber and metal products · Tumakuru, Karnataka, India